Community Builds
How a Community Network Actually Gets Started
From a needs survey to a pilot node: the realistic first year of a community network, drawn from past projects.
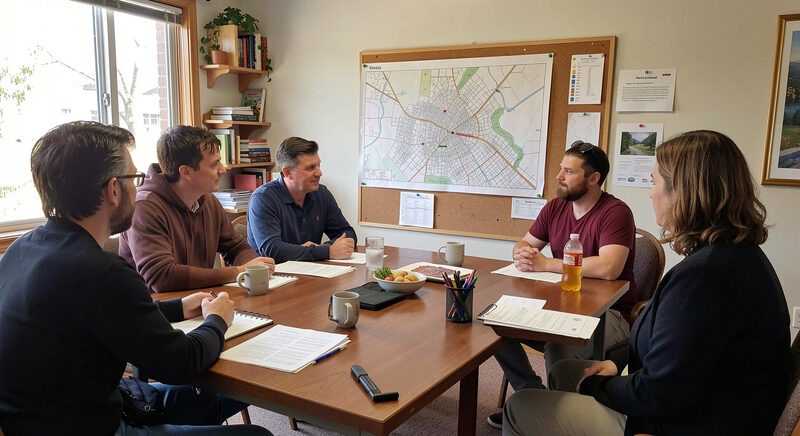
Community networks rarely begin with a network. They begin with a small group, a documented need and a first site willing to host equipment. The record of past projects, from the free-nets of the 1990s to today's municipal builds and meshes, suggests a sequence that keeps appearing: prove the need, find an anchor, run a pilot, then grow. The guide below walks that sequence in the order the successful projects used it.
Step one: the needs survey
Every defensible project starts with an inventory, not a purchase. Who in the area lacks adequate service, who is paying too much for too little, and which institutions, the school, the library, the clinic, feel the gap most. The divide data described in the digital divide guide supplies the regional picture; a simple local survey, even a paper form at the library desk, supplies the street-level one.
The survey does two jobs. It proves the gap to funders and partners who will ask for evidence, and it surfaces the early adopters who will host the first equipment and staff the first installs.
Step two: find the anchor partner
Successful community networks almost always attach to an institution that already has trust, space and a stake: a library, a school, a church, a housing authority or a community center. The anchor provides a first site with power, a roof or a rack, and often a backhaul connection to share. In return it gets connectivity for its patrons and a role in the project.
The library is the classic anchor for the reasons covered in the library guide: it is already the public access point, already open to everyone, already trusted with the same mission.
Step three: the pilot
The pilot is deliberately small: one anchor site, a few nodes or a single wired extension, a dozen users at most. Its purpose is proof, not coverage. A working pilot demonstrates that the technology performs in the local terrain, that volunteers can install and maintain it, and that users will actually come. Past projects consistently report that a modest, working pilot does more for funding conversations than any feasibility document.
For a wireless pilot, the mesh guide covers what the first nodes involve; for a wired or fiber pilot, the models in the community broadband guide show which structure fits.
Step four: the money
Community networks fund from a recurring set of sources. Federal broadband programs, administered through the NTIA and state broadband offices, fund planning and construction at scale. USDA programs such as ReConnect fund rural builds. State and local grants, foundation funding and community foundations fill planning gaps. Member fees and donations sustain volunteer models like the meshes.
The realistic advice from past projects is to size the first ask to the first step: fund the survey and the pilot before proposing a build, because each funded step makes the next more credible.
Choosing the technology last
Projects that begin with equipment tend to buy the wrong equipment. The sequence that works keeps the technical choice downstream of the first three steps: the survey shows who needs reaching, the anchor shows where the first site is, and the pilot shows what the terrain does to the chosen radios or cables. A block of rowhouses within sight of a wired anchor argues for mesh; a scattered rural membership argues for a co-op or a partnership with an existing provider; a city-owned utility argues for the municipal build. The technology follows the situation, and the situation is what the earlier steps were for.
Step five: people and governance
The free-net era left a warning written in Network History: systems that ran on a few volunteers and one sponsor were fragile when either left. A durable project spreads both loads early. That means recruiting install and help-desk volunteers before they are needed, writing down who owns the equipment and who decides, and choosing a governance form, co-op, nonprofit or public body, before the money arrives and makes the choice contentious.
The skills the project will need
A short inventory keeps recruitment honest. A community network needs someone who can run the radio or fiber work, someone who can keep books and file the paperwork funders require, someone who can convene meetings and keep volunteers arriving, and someone who can explain the project plainly to a council or a congregation. Rarely is that one person. Listing the four roles early prevents the common stall where the technical member carries everything until they stop.
What past projects warn about
The failure modes repeat too. Projects stall waiting for a perfect plan instead of a working pilot. They underestimate ongoing maintenance, the monthly reality that outlasts the launch day coverage. And they take on anchor institutions without clarifying expectations, which sours the very partnerships that made them possible.
The first gesture
The realistic starting move costs nothing: gather two or three people, write down who in the neighborhood lacks adequate service, and ask the library or community center what access problems they already see. That conversation produces the survey's first page and usually the anchor's first contact. The national landscape of funding and models is tracked at communitynets.org, which is where most successful projects say they started reading.
And if the project fails? The record is honest about that too: many do. What the failed projects consistently produced anyway was a group of residents who understood their own connectivity problem, which turned out to be the asset the next attempt was built on.